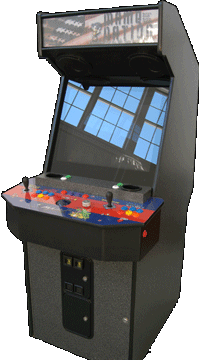
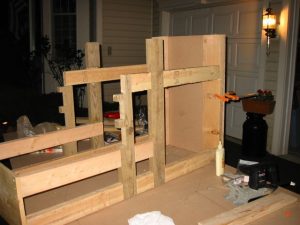
I used the cabinet plans found at Scott’s Unicade. I was not comfortable with many of the plans on the net that were frameless. I just visualized them as being laterally ‘wobbly.’ The frame design Scott came up with is industrial strength – I cannot overemphasize the quality of this design.
I am not going to re-hash the details of Scott’s Unicade since his site is very thorough already, but I will point out those things that I chose to do differently. I have another page with a photo timeline if you want to see how the cabinet progressed.
You may notice some extra notches in my frame. I had originally planned on using them but the design evolved and they eventually went unused.
1) I chose to have the frame rest on top of the 2×6’s, connected with biscuits and screws. Scott’s design had the 2×6’s notched to accept the ‘legs.’ My logic in changing this is that those legs bear a lot of weight and I would rather that weight comes down onto solid pine, rather than less sturdy MDF that could give way if damp or aged.
2) I used 3/4″ MDF for the bottom for additional strength.
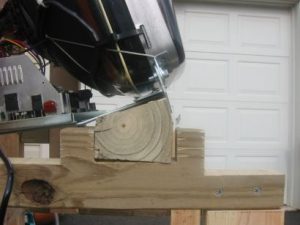
3) Rather than using angle iron to attach the monitor, on the bottom I used a 4×4 cut at an angle. It is glued and screwed to the frame. This worked very well, and has a very sturdy feel.
Monitor Bottom:
4) I opted to use a wireless keyboard rather than a wired one in a drawer.
5) I used laminate on the front door/panel. I have three young kids that are going to be playing this thing and paint wouldn’t last a week. Plus, aesthetically I like it better than paint.
6) I used thinner & lighter 1/8″ Masonite for the two back panels in order to reduce the weight. The frame is rigid enough that this doesn’t compromise the cabinet strength noticeably. The top angled panels are still MDF.
7) Wherever Scott specified 5/8″ MDF I used 3/4″ simply because I could not find 5/8″ locally.
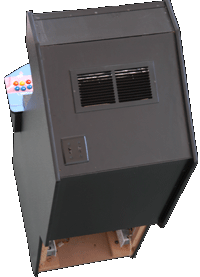
8 ) I put vents on top and on the lower back reduce heat. I did this after reading this site. It makes the cab look more authentic also IMHO.
9) I added light control measures (foil tape, masonite backboard) behind the marquee light so light would not leak out of the vents.


Recent Comments